HAProxy Getting Started
HAProxy is a free, very fast and reliable solution offering high availability, load balancing, and proxying for TCP and HTTP-based applications. It is particularly suited for very high traffic web sites and powers quite a number of the world's most visited ones. Over the years it has become the de-facto standard opensource load balancer, is now shipped with most mainstream Linux distributions, and is often deployed by default in cloud platforms.

If you have installed Websoft9 HAProxy, the following steps is for your quick start
Preparation
- Get the Internet IP of your Server on Cloud
- Check your Inbound of Security Group Rule of Cloud Console to ensure the TCP:1080 is allowed
- Get default username and password of HAProxy
- Complete Five steps for Domain if you want to use Domain for HAProxy
HAProxy Installation Wizard
Steps for you
-
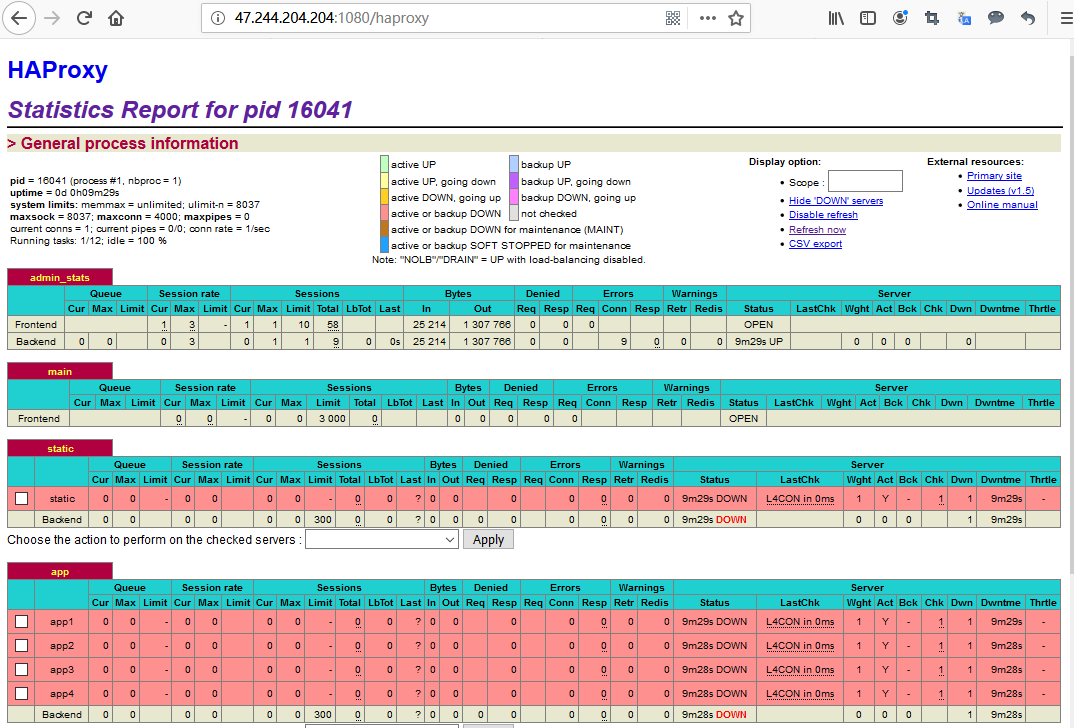
Using local Chrome or Firefox to visit the URL http://DNS:1080/haproxy or http://Internet IP:1080/haproxy
-
Input username and password(Don't known password?), go to HAProxy Statistics Report console
More useful HAProxy guide, please refer to HAProxy Documentation
Having trouble?
Below is for you to solve problem, and you can contact Websoft9 Support or refer to Troubleshoot + FAQ to get more.
HAProxy QuickStart
Refer to HAProxy Documentation 或以 xxx 作为一个任务,帮助用户快速入门:
HAProxy Setup
Can I reset password of HAProxy?
Yes, modify the configuration file /etc/haproxy/haproxy.cfg
listen admin_stats
 bind *:1080
 mode http
 maxconn 10
 stats refresh 10s
 stats uri /haproxy
 stats realm Haproxy
 stats auth admin:admin
 stats hide-version
 stats admin if TRUE
Enable HAProxy Statistics Report
The HAProxy Statistics Report was enabled by default, just visit the URL:http://Internet IP:1080/haproxy
Enable HAProxy log
Log was enabled by default, check the file /etc/rsyslog.conf to get the configuration details
High availability
You should deploy the software Keepalived to implement the High availability for HAProxy
HAProxy Cluster configuration
Simply add the information of the cluster server to be managed in the configuration file to enable the HAProxy cluster. Examples are as follows:
# [HTTP Site Configuration]
listen  http_web 192.168.10.10:80
        mode http
        balance roundrobin  # Load Balancing algorithm
        option httpchk
        option forwardfor
        server server1 192.168.10.100:80 weight 1 maxconn 512 check
        server server2 192.168.10.101:80 weight 1 maxconn 512 check

# [HTTPS Site Configuration]
listen  https_web 192.168.10.10:443
        mode tcp
        balance source# Load Balancing algorithm
        reqadd X-Forwarded-Proto: http
        server server1 192.168.10.100:443 weight 1 maxconn 512 check
        server server2 192.168.10.101:443 weight 1 maxconn 512 check
Reference sheet
The below items and General parameter sheet is maybe useful for you manage HAProxy
Run docker ps command, view all Containers when HAProxy is running:
CONTAINER ID   IMAGE         COMMAND                  CREATED         STATUS         PORTS                                                                              NAMES
df7ee0f0070c   haproxy:2.6   "docker-entrypoint.s…"   9 minutes ago   Up 9 minutes   0.0.0.0:1080->1080/tcp, :::1080->1080/tcp, 0.0.0.0:9001->80/tcp, :::9001->80/tcp   haproxy
Path
HAProxy installation directory: /data/apps/haproxy
HAProxy configuration file: /data/apps/haproxy/src/haproxy.cfg
Port
| Port | Use | Necessity |
|---|---|---|
| 1080 | HTTP requests for HAProxy Statistics Report | Optional |
| 9001 | for HAProxy | Optional |
Version
sudo docker exec -it haproxy haproxy -v
Service
sudo docker start | stop | restart | status haproxy
CLI
Use haproxy to manage HAProxy
Usage : haproxy [-f <cfgfile>]* [ -vdVD ] [ -n <maxconn> ] [ -N <maxpconn> ]
        [ -p <pidfile> ] [ -m <max megs> ] [ -C <dir> ]
        -v displays version ; -vv shows known build options.
        -d enters debug mode ; -db only disables background mode.
        -dM[<byte>] poisons memory with <byte> (defaults to 0x50)
        -V enters verbose mode (disables quiet mode)
        -D goes daemon ; -C changes to <dir> before loading files.
        -q quiet mode : don't display messages
        -c check mode : only check config files and exit
        -n sets the maximum total # of connections (2000)
        -m limits the usable amount of memory (in MB)
        -N sets the default, per-proxy maximum # of connections (2000)
        -L set local peer name (default to hostname)
        -p writes pids of all children to this file
        -de disables epoll() usage even when available
        -dp disables poll() usage even when available
        -dS disables splice usage (broken on old kernels)
        -dG disables getaddrinfo() usage
        -dV disables SSL verify on servers side
        -sf/-st [pid ]* finishes/terminates old pids. Must be last arguments.